miso & ginger potatoes anna, you're gonna freak
I'm not gonna say it'll change your life... but.........
Hey divas,
I’m moving this week! Not very far, just to the Castro. I’m very excited. I’m very stressed.
I don’t really have a lot to say because my room is filled with boxes and I can’t believe how many books I own??? It’s……. so many books. Some might say too many books. I’ve been walking around to those mini public libraries people put outside their houses that look like much smaller houses and filling them with books I don’t plan on taking with me. That’s felt nice. Anyway.
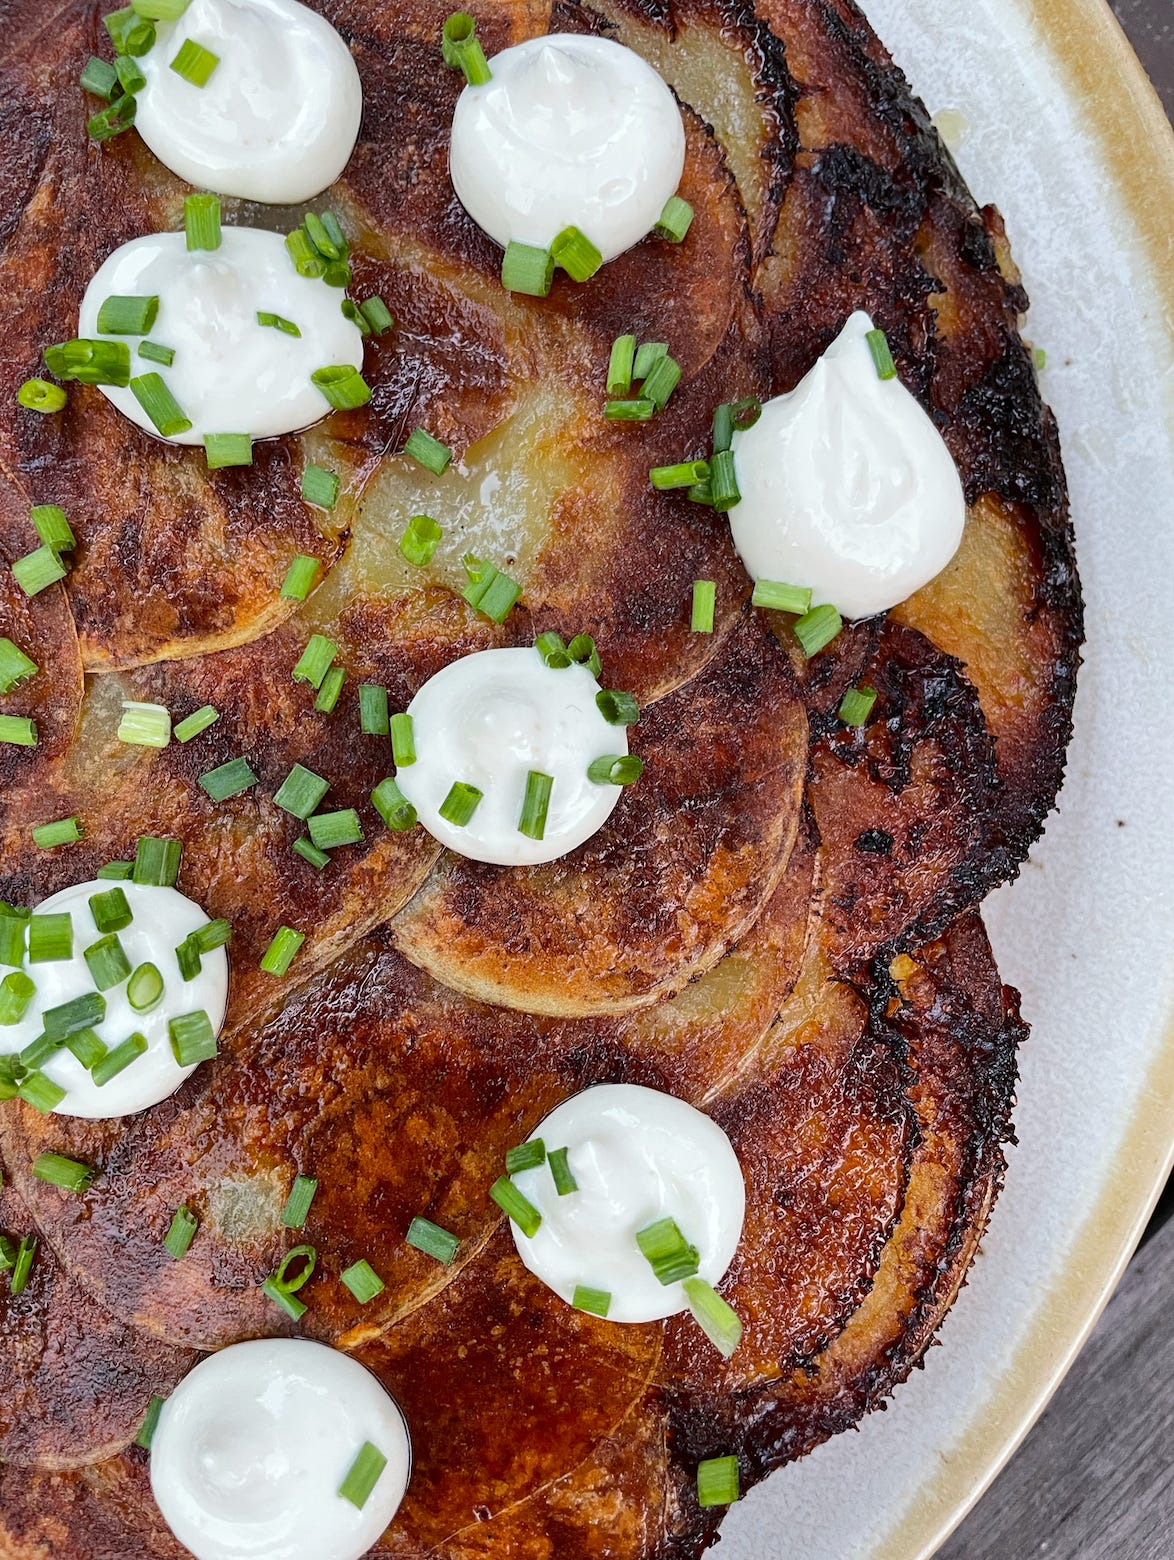
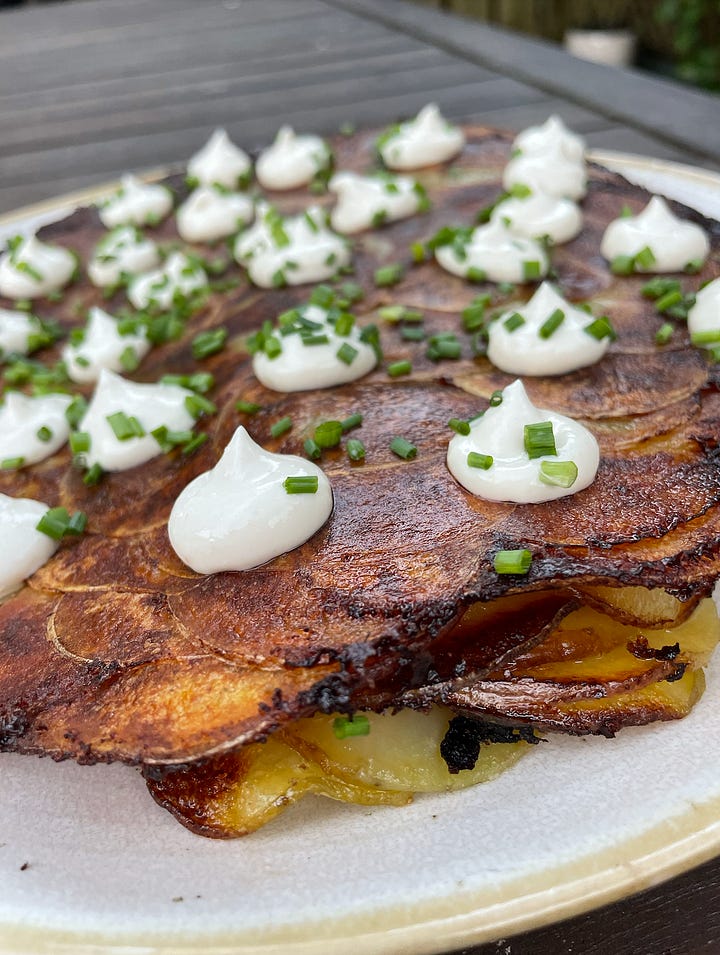
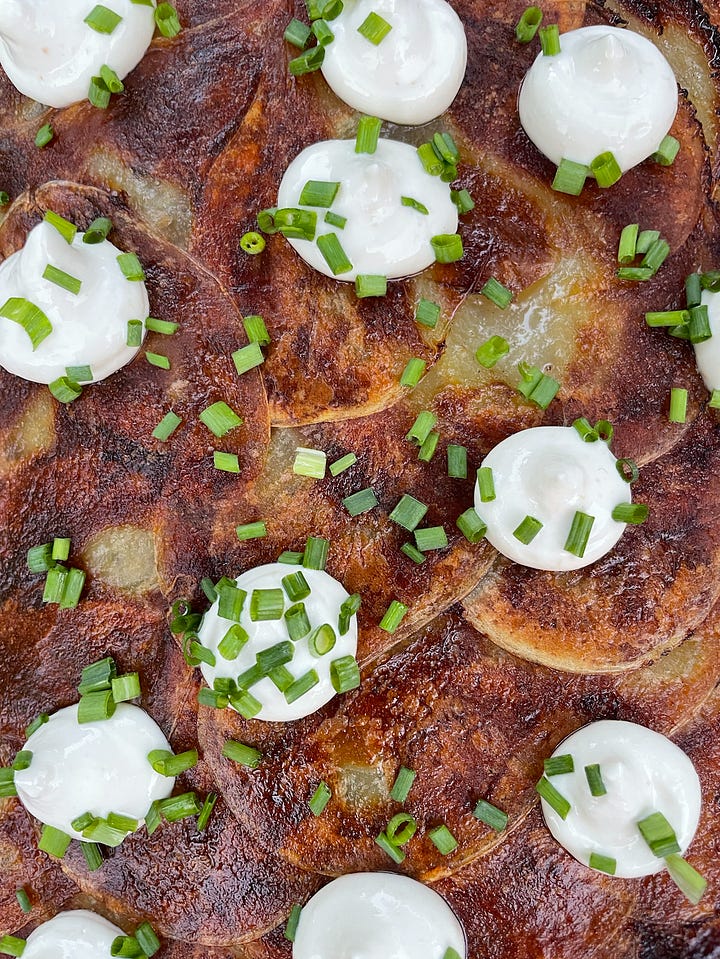
Although I don’t have a lot to say because, again, I’m moving, I do have a really freaking good recipe. Miso and ginger potatoes anna with miso sour cream. Joe didn’t even get a slice because everyone ate it so quickly when I was recipe testing. It’s crispy, it’s creamy, it’s umami and gingery and just make it and find out for yourself!
miso & ginger potatoes anna: ingredients
3 lbs Yukon gold potatoes (it’s like 6 good-sized ones): I don’t peel the potatoes for this because the skin of a Yukon gold is nice (to me!) If you were going to use something lite a russet, you totally could, but I would peel those!
5 tbsps unsalted butter: Unsalted!
2 tbsps white miso: Listen, you can leave out the miso and the ginger, but then really, what’s the point?
2 inches grated ginger: Listen, you can leave out the ginger and the miso, but then really, what’s the point?
1/4 cup neutral oil: I used vegetable oil, you use whatever you have.
3/4 cup sour cream: Full fat!!!!
1/2 cup chives, chopped thin: You could also use scallions here, but I think the chives look very cute!
miso & ginger potatoes anna: ingredients
First! Preheat your oven to 425. Then!
The first thing I would do is make your sour cream topping because it’s easy, and you can get it out of the way. Just mix the sour cream and one of the tablespoons of white miso together—mix it really well! Now you have miso sour cream! I put it in a ziplock bag (because I don’t have a piping bag) because I wanted to pipe little dots of it. You don’t need to do that, but I think it’s really cute if you decide you want to. Whatever you do, put it in the fridge to chill while you work on the rest of this.
In a small saucepan, add your butter, the remaining 1 tbsp of miso, and grate 2 inches of ginger (I don’t peel this either!) right in there. Heat over low just to melt the butter, and using a whisk (or fork or whatever), mix until the miso is completely incorporated and set it aside. You could also probably do this in the microwave which is something I didn’t think about until just now.
Next, prep your potatoes. Using a mandolin (or a food processor with one of those special blades), slice your potatoes into 1/8-inch thick slices. You can do this by hand, but it’s hard and tedious! Also, consistency is very important for even cooking here, so, if you don’t have a mandolin, this is a great excuse to get one!
Coat the bottom of a 10-inch oven-safe pan (I used a cast iron!) with the oil—this will help ensure your potatoes don’t stick and release easily from the pan.
After she’s greased, working from the center outward, arrange potato slices, slightly overlapping, in a circular pattern. After your first layer is down, using a pastry brush (or spoon!), brush the potatoes with a coating of the miso ginger butter. You don’t need to be too heavy-handed here, I dab more so than brush because you don’t want to disturb the layering! (Here is a great visual for our friend Bob Ross.). You can also throw a few cracks of black pepper in there if you’re into that sort of thing.
Then add another layer, and then another, brushing the butter miso mixture between each one. Repeat this until you’ve used all the potatoes and butter.
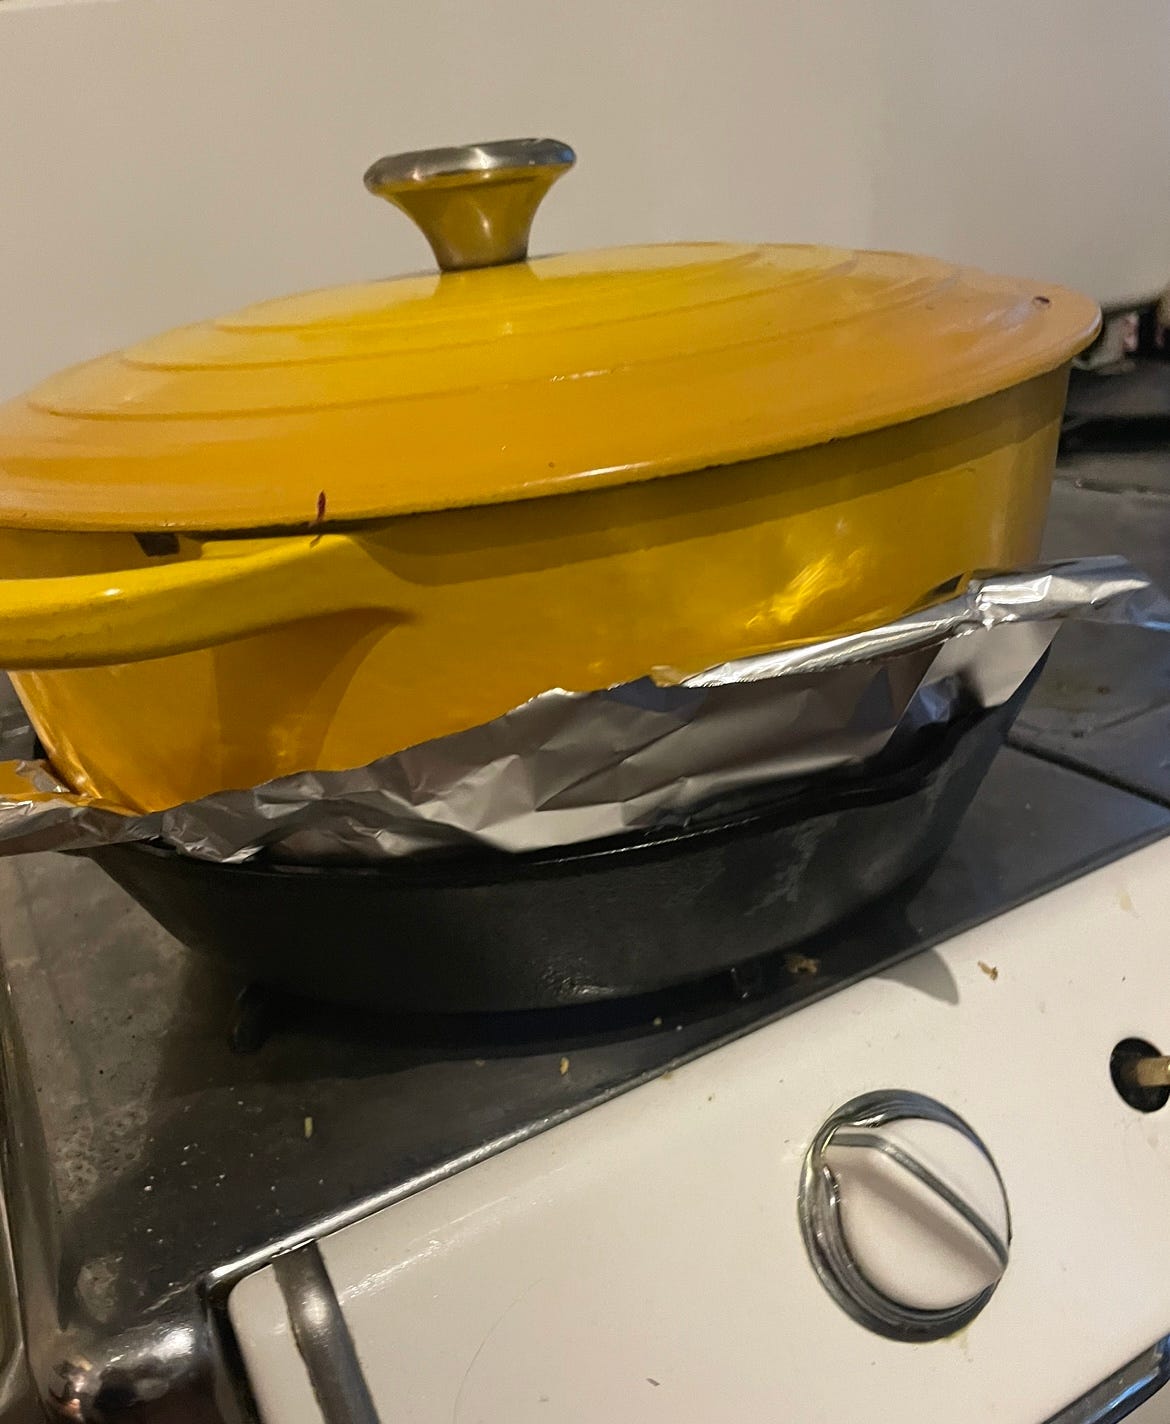
Set your pan over the stove on medium, and place a sheet of tinfoil on top of the top layer of potatoes. Next, sit a heavy pot on top of the foil. If you don’t have a heavy pot that will fit, you can use a pan and set some cans of beans inside it or something like that. Basically, the idea here is that you want to compress the potatoes as they get a head start cooking on the stove. This will make sure the bottom is crisp, and the layers stick. Here’s a visual if you need one!
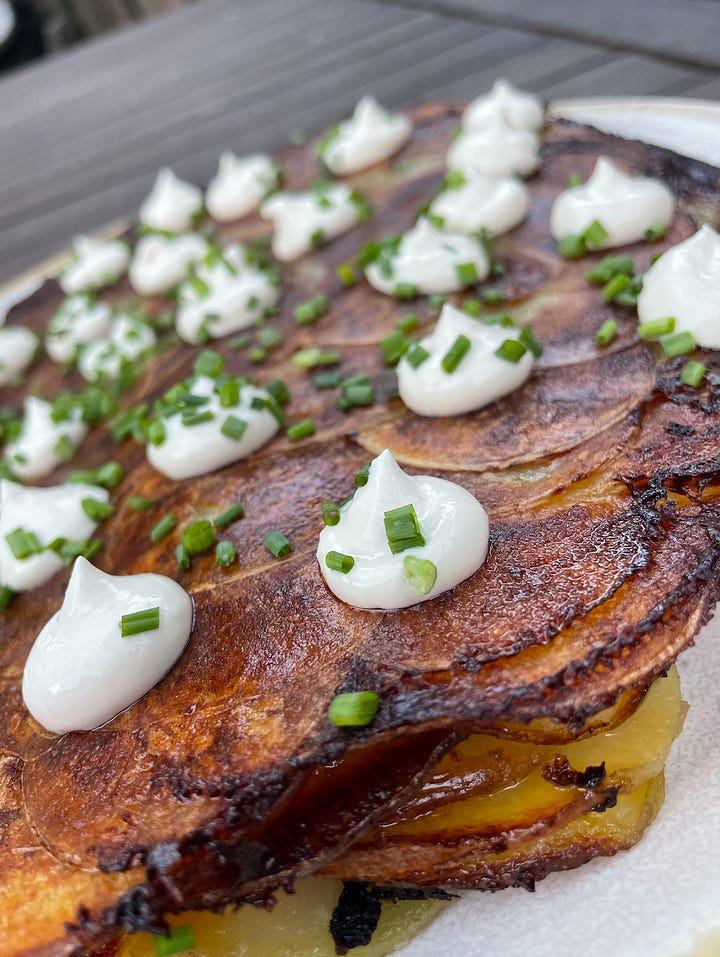
After fifteen minutes, remove the pot and foil and transfer the pan to your oven. Let it cook for 25 minutes. Check after 25 minutes—a sharp knife or cake tester inserted into the center of the potatoes should cut through with no resistance, and you should see browning around the edges of the potatoes. If that’s the case, she’s done! If not, let her go for a bit longer.
Once out of the oven, using a butter knife or fish spatula, or another instrument of your choice, run it around the edge of the potatoes to help encourage its release from the pan.
Using an oven mitt, carefully invert (flip!!!!) the potatoes onto a serving plate—you might want to drain off a bit of the oil first by holding the plate over the pan and tilting it slightly over the sink or other liquid-catching receptacle. Be brave! Be quick! Be careful! (This is the vibe, but you don’t need to put it back in the pan after it’s out!)
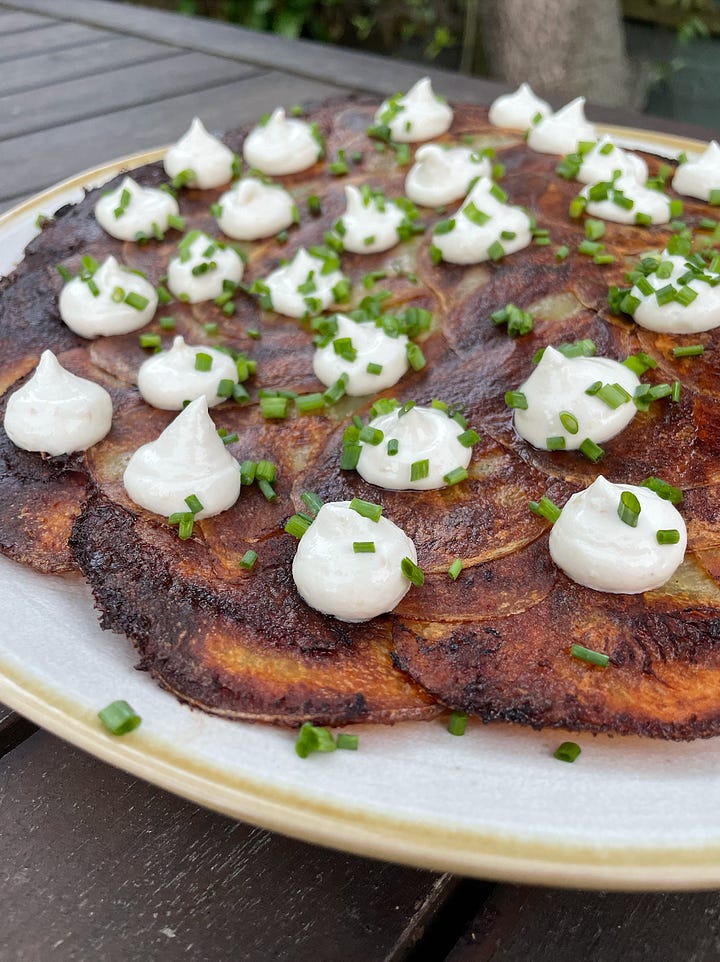
If you want to dot your potatoes, now’s the time! Cut the corner off your Ziploc bag and let loose! If not, you can dollop, spread, or just serve the sour cream on the side and let people choose their own adventure. Either way, finish with a dusting of chives or scallions, slice, and enjoy.
Ok that’s all I hope you make this love you bye!!!
Garrett


